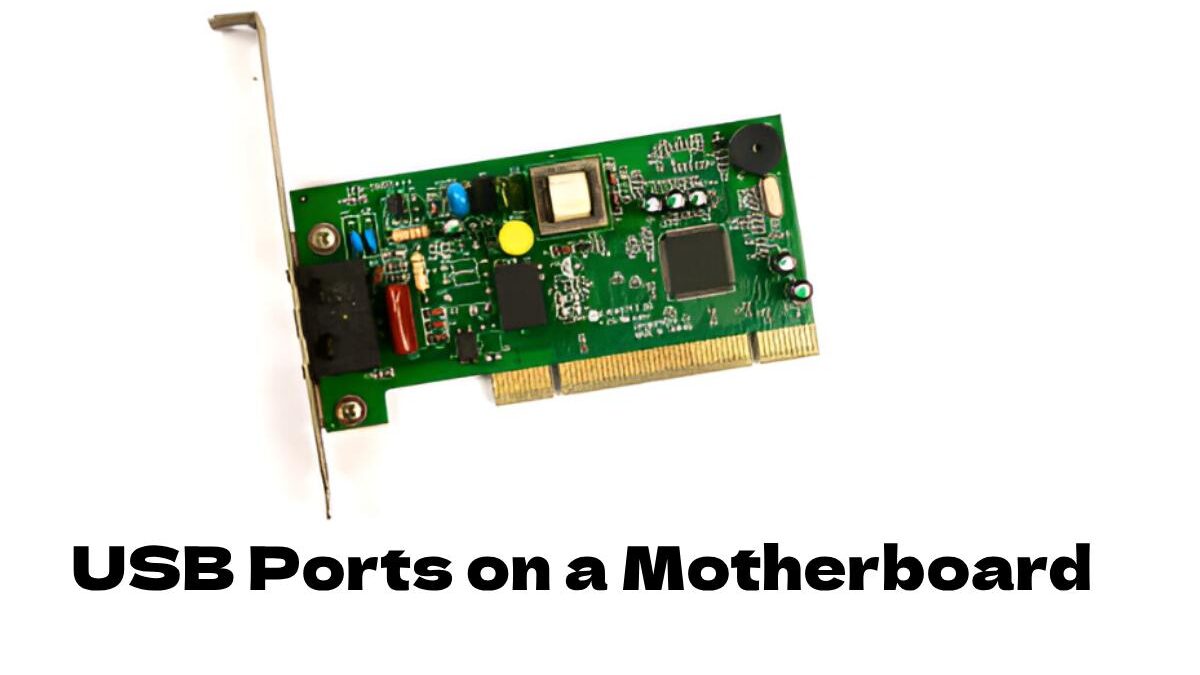
Identifying USB ports on a motherboard is essential for connecting the right devices, ensuring compatibility, and taking full advantage of speed and power features. With different versions like USB 2.0, USB 3.0, and USB-C, each port type serves specific functions and appears with unique shapes, pin counts, and colors. Knowing how to locate and recognize these ports helps in building, upgrading, or troubleshooting your PC more efficiently.
Table of Contents
Pin Count by USB Type
USB 2.0 Header
- 9 pins (one pin missing as key)
- Usually 1 row of 4 + 1 row of 5
- Delivers basic data and power
- Found on almost all boards
USB 3.0 Header (3.1 Gen 1)
- 19 or 20 pins
- Two rows
- Blue inner plastic
- High-speed 5 Gbps
USB 3.2 Gen 2 Header
- Looks similar to USB 3.0
- May be marked with SS10 or USB 3.2
- Supports 10 Gbps
USB-C Header
- 24-pin compact connector
- May support Thunderbolt
- Supports fast data + fast charging, + video
- Usually labelled “USB-C” or “USB3.2 Type-E”
Label Markings on Motherboards
- F_USB1 / F_USB2 = Front USB 2.0 headers
- USB3_12 / USB3_34 = USB 3.0 front ports
- USB_E34 / F_USB3_1 = USB 3.1 Gen 2
- JUSB1 / USB-C = USB-C internal headers
- SS or 10G may mean SuperSpeed 10 Gbps
- Look near the printed circuit labels
- Often grouped near the bottom or right edge of the board
Location of USB Headers
- Bottom edge of the motherboard = Common for USB 2.0 and 3.0 headers
- Right side near 24-pin power connector = USB 3.2 headers
- Rear I/O panel area = Pre-installed Type-A and Type-C ports
- Near chipset or audio sections = Some speciality USB headers
- Internal Type-C = Between PCIe slots or near audio headers
Identifying Rear I/O USB Ports
- Black port = USB 2.0
- Blue port = USB 3.0 (5 Gbps)
- Teal/blue-green port = USB 3.1/3.2 Gen 2 (10 Gbps)
- Red port = USB 3.2 Gen 2×2 (20 Gbps)
- Yellow/Orange = Charging-specific USB ports
- Type-C port = Reversible, oval shape
- Labels beside ports: “SS”, “10G”, “PD”, “Type-C”
USB Port Colour Guide
- Black – USB 2.0
- Blue – USB 3.0
- Teal – USB 3.1 Gen 2
- Red – USB 3.2 Gen 2×2
- Yellow – USB Charging port
- White – Legacy USB or low-speed
- Type-C – Oval reversible port
Internal USB Header Use Cases
- Connect the front panel USB ports
- Connect the AIO cooler USB cables
- RGB controllers
- Internal USB dongles
- Front panel audio interface (some hybrid headers)
Tips for Identifying USB Headers
- Use the motherboard manual for exact labelling
- Count the pins – helps differentiate between USB 2.0 and USB 3.0
- Look for colour-coded connectors
- Use a flashlight and a magnifier for tiny labels
- Refer to the online motherboard layout diagrams
- Use the motherboard model number to Google the port layout
USB Header Names (Examples)
- ASUS – F_USB, USB_E1, USB 3_34, USB 3.2 Gen2
- MSI – JUSB1, JUSB2, JUSB3, JUSB-C
- Gigabyte – F_USB1, F_USB30, USB Type-C
- ASRock – USB_A1, USB3_12, USB3_TC
Tools to Identify USB Ports
- Motherboard manual (PDF or printed)
- Online motherboard layout images
- System Info Tools (Speccy, HWiNFO)
- Motherboard model number check
- BIOS info for onboard devices
- Magnifying glass for board markings
Mistakes to Avoid
- Don’t confuse USB 2.0 with fan headers
- Don’t plug a USB 3.0 cable into a USB 2.0 header
- Don’t force Type-C internal cables into other headers
- Don’t skip the manual – every board layout is unique
- Don’t ignore pin damage or bent header pins
Additional Facts
- Some boards support an internal USB-C front panel
- USB headers are often near the front audio, and power switch headers
- USB 3.0 and 3.1 headers may look similar
- Internal USB headers power RGB hubs, AIOs, and fan controllers
- USB-C headers may require special cables for the case
- Higher-end motherboards support more USB types
- Some USB ports have dedicated charging support
- Use labelled schematics when in doubt
Conclusion
Understanding how to identify USB ports on a motherboard helps you make the most of your system’s connectivity. By recognizing the port types through their colors, pin layouts, and labels, you can ensure proper connections for data transfer, charging, and device compatibility. Whether you’re building a PC, upgrading components, or connecting peripherals, knowing the differences between USB 2.0, USB 3.0, and USB-C ports ensures efficient and error-free setup.

