Table of Contents
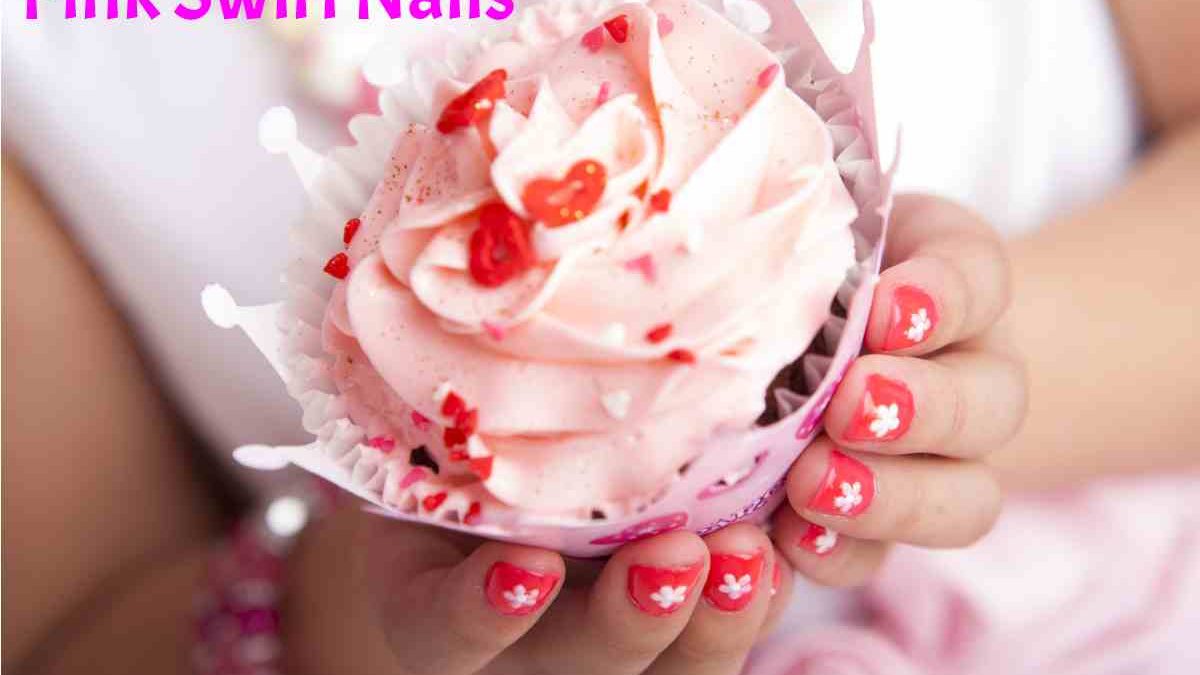
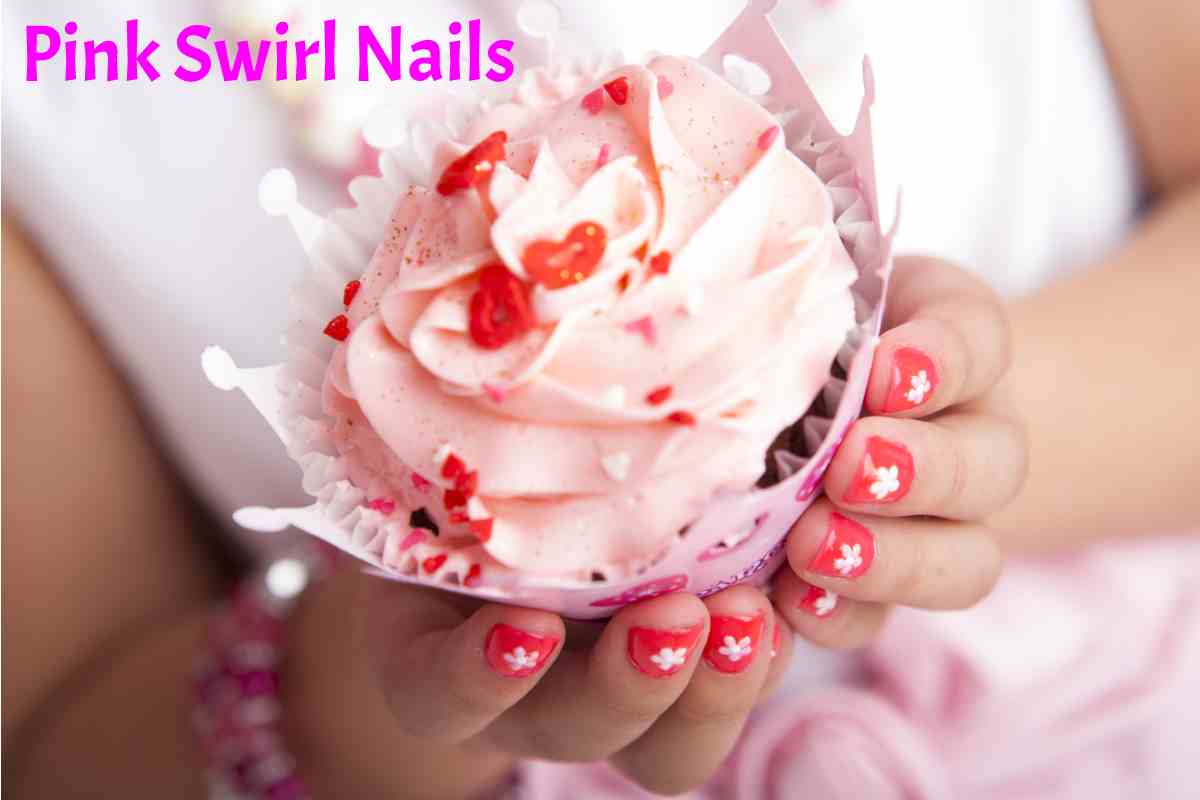
These Pink and Purple swirl Nails
Pink Swirl Nails, include three types of gel polish and rhinestone details. They are handmade and made to order. You can call them without gems. Just leave a note when ordering! This set of 10 handmade nails includes a nail application kit with nail glue, alcohol prep pads, a mini nail file, clear adhesive tabs, and a cuticle stick for a more straightforward application. The nail images above show Long Ballerina, although this set is available in short, medium and long, ballerina, square, stiletto and almond. How to make nail polish swirls If you want to take your nail art to a new level, the latest spiral polish trend is as good as it looks,
But How Do you do it With Spiral Nail Polish?
You can try several designs, and you should be as creative as you want with them. Of course, you have to know how to do it well so that there are no mishaps or messy nails.
We provide a step-by-step guide on making nail polish swirls and some of the best color combinations for you to try.
What This Article Covers: Pink Swirl Nails
- How to make swirls with your nail polish
- The best color combinations
- How to make swirls with your nail polish
- Before starting the procedure, ensure you have all you need at your fingertips nail polish colors, a base coat, a top coat, and toothpicks.
- Open the nail polish bottles, so they are easy to access during the process.
How Can you Screw your Nail Polish
Start by applying a good coat of clear base coat to your nails. This protects the nails from any used colour staining and fills in any ridges or bumps to create a smooth surface for application.
Next, paint over the base color of your choice. If you want to do swirl effects with lighter colors, a darker base will work, or if you’re doing swirls with darker colors, a more lightweight or nude base will work. You can bounce this step if you don’t want a base color and instead want a swirl effect across the entire nail. Once the base is dry, you’ll start with the swirl. Put 1-2 drops of each of the colours of your choice on the nail. Use a toothpick to create a swirl effect to your liking, and brush in the direction that makes the desired pattern or design.
Be careful not to put too much product on this step, as it can get too thick and smear after a while. It would help if you started with less and slowly added more polish as needed.
the Way you Can Jiggle your Nail Polish
Clean the nail polish brush in each bottle before putting it back, as it could have been in contact with other colors.
If your polish seems thick, thin the nail polish with a lacquer thinner to make it easy to apply.
Let the polish dry for at least 15-20 minutes. Once dry, you can apply our top coat, giving a glossy finish and protecting the polish from chipping or cracking over time.
It also prevents discoloration caused by external elements, which is how gel polish can change color.
How to Style Swirls with your Nail Polish
You can paint your nails a pinkish hue and then swirl a shimmery gold hue on top. Alternatively, you can twist pink and gold on a clear base if you feel more playful.
Conclusion
Nail art is a creative way to paint, decorate, enhance, and embellish nails. It is a type of artwork that can be done on fingernails and toenails, usually after manicures or pedicures. Manicures and pedicures are beauty treatments that trim, shape, and polish the nails.